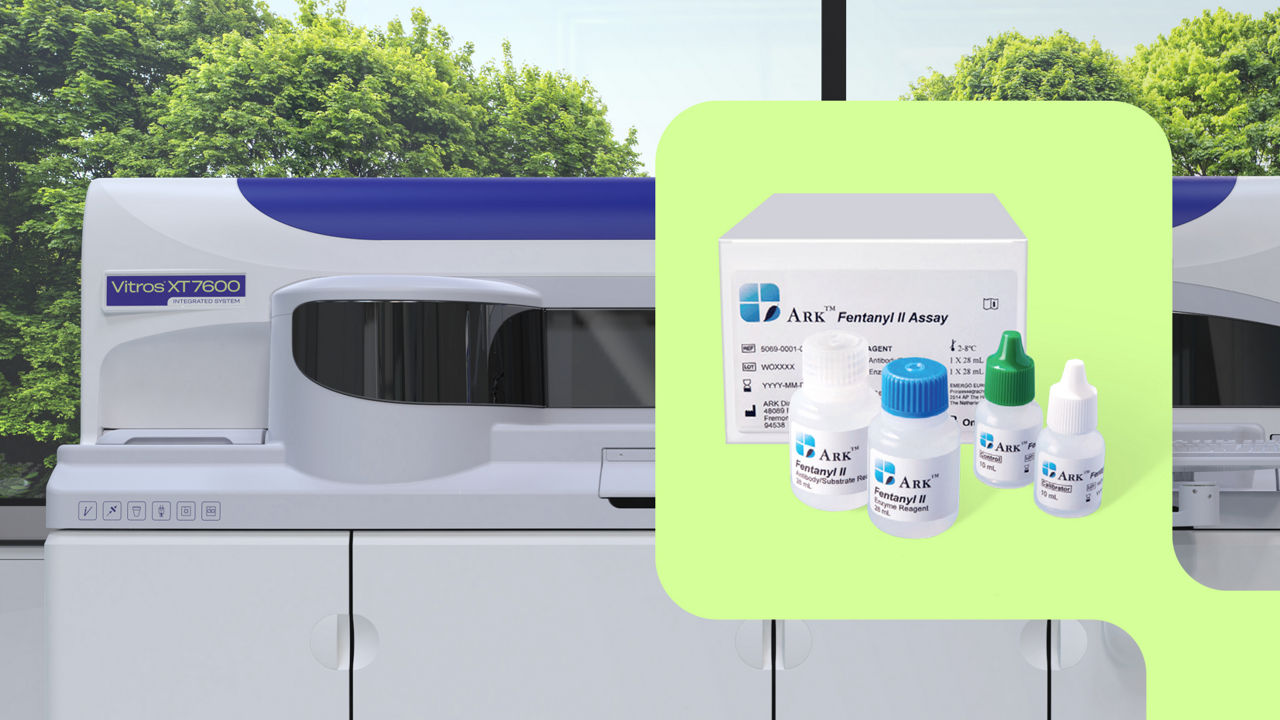
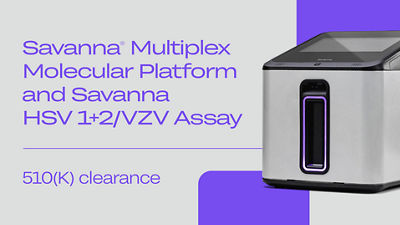
Featured products
In global pursuit of better health outcomes
We are driven to transform diagnostic data into answers, understanding and action for more people in more places every day. Learn how we help you chart the course forward in care.

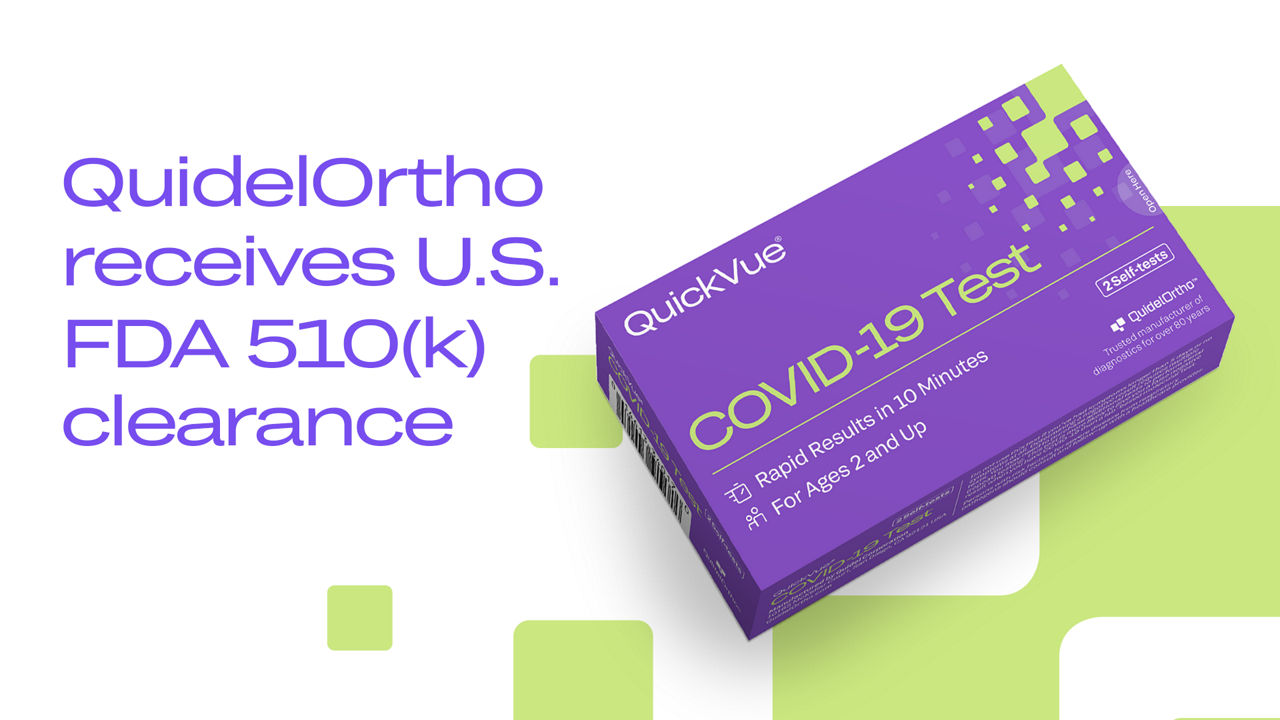
News & Events